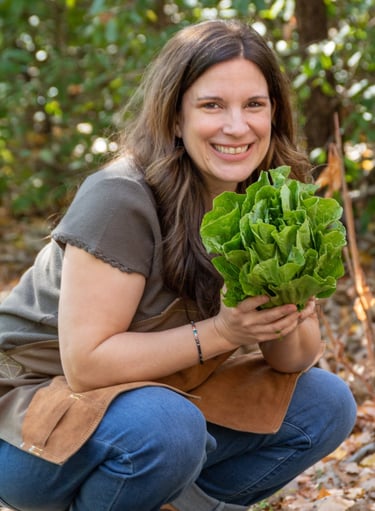
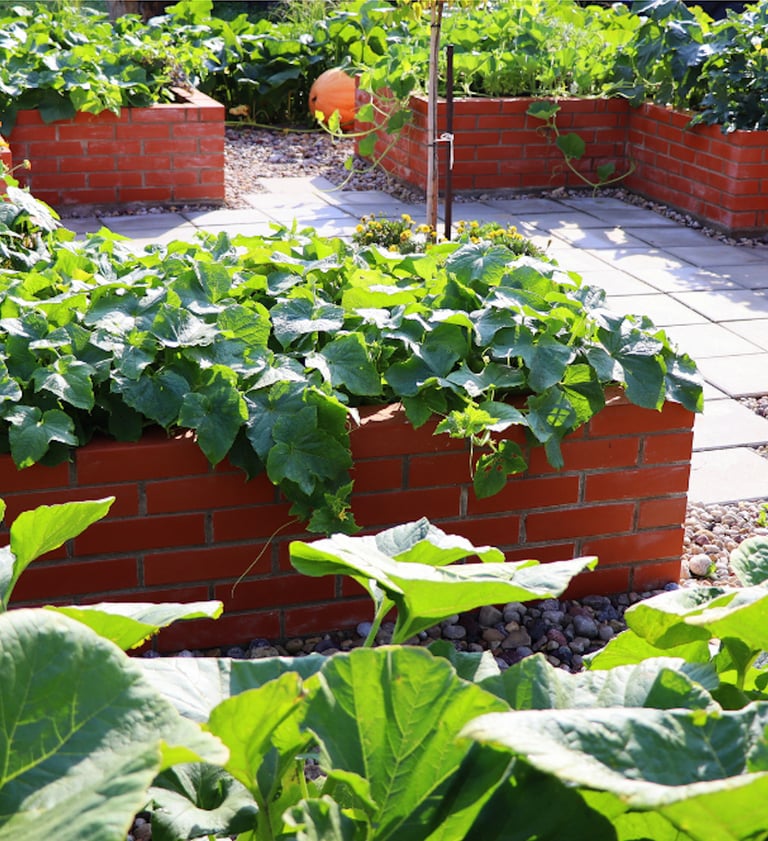
JulieAnn Gardens: Cultivating Growth, One Garden at a Time
Welcome to Julianne Gardens, where gardening meets inspiration and mindfulness. Whether you're dreaming of vibrant vegetable patches, native plant havens, or simply reconnecting with nature, this blog is your sanctuary for learning and growth. Here, we blend practical gardening tips with heartfelt guidance to nurture not just your plants, but your gardening confidence. Let's plant, grow, and thrive together!
Seed Starting 101: From Tiny Seeds to Thriving Gardens
Hey there, gardening friends! 🌱 Are you ready to turn tiny seeds into a lush garden paradise? Let’s dig into the magic of seed starting together!
SEED STARTING
Julie Ann
1/11/20255 min read
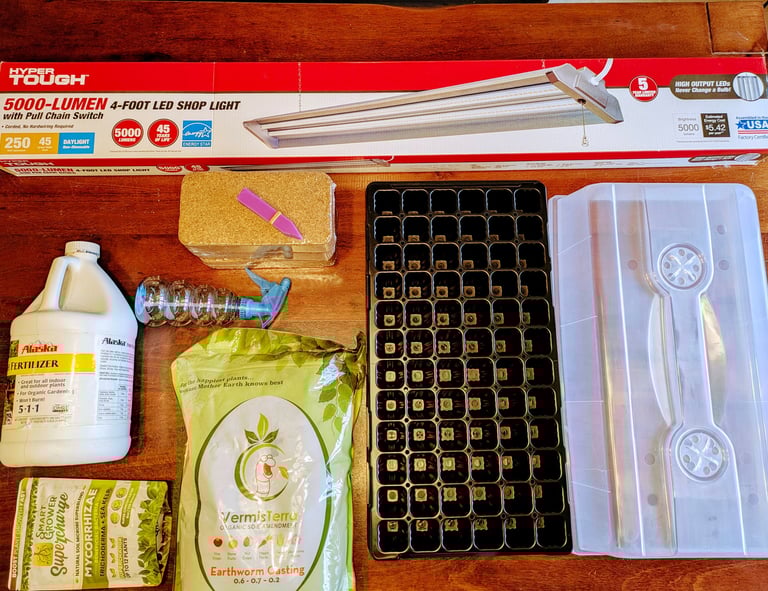
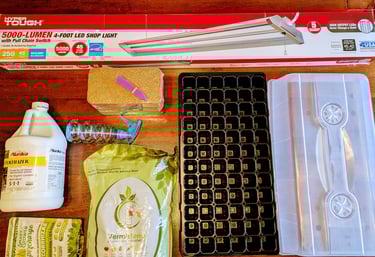
Supplies You’ll Need
Here’s your gardening starter pack to set up your seed-starting station:
Seed Trays and Humidity Dome: Reusable seed trays, humidity dome, and plant cells for sustainability.
Seed-Starting Mix:
Coco coir bricks: Light, fluffy, and eco-friendly—it’s perfect for germination.
Vermiculite and Perlite: Easily found at local hardware stores like Menards or Home Depot.
Worm Castings, Fish and seaweed fertilizer, or Fish Emulsion Fertilizer
Fish Emulsion (or Fish & Seaweed Fertilizer): Needs to be applied two weeks after germination, then every two weeks to keep plants nourished.
Mycorrhizal Fungi: Enhances root development and nutrient absorption (optional).
Light Source: Small-space grow lights or pair grow lights with a storage rack for larger setups. Set for 14-16 hours of light per day and keep 4 inches above plants. If you have a sunny room, that works too! Just make sure seedlings get enough direct sunlight to avoid getting leggy. Hint: use a light timer!
Oscillating Fan: Thrift stores like Goodwill often carry affordable fans, or check out this compact fan.
Labels: Multicolor plant labels to track what you’ve planted.
Watering Can or Spray Bottle: Gentle hydration is key.
Seeds: Choose heirloom varieties that excite you—it’s your garden, your way! Some of my favorites seed suppliers are MIGardener, Sow True Seed, and Pinetree.
Many of my starting supplies can be found on the Bootstramp farmer's website and my seed starting amazon list.
Why Start Seeds?
When I started seed starting, I couldn’t believe how rewarding it was to watch those first sprouts emerge. It’s still one of my favorite parts of gardening—like greeting tiny green miracles! It’s budget-friendly, gives you access to unique varieties, and lets you control every detail of your plant’s growth. Plus, there’s nothing more rewarding than seeing those first green sprouts emerge—it’s gardening magic in action! 🌼
Step-by-Step Guide: Let’s Get Growing!
1. Timing is Everything ⏳
Planning is the foundation of successful seed starting. Check seed packets for germination times and your last frost date. Work backward to find the best planting time and group seeds with similar needs. Your thoughtful preparation is planting the seeds of success—literally! 🌟
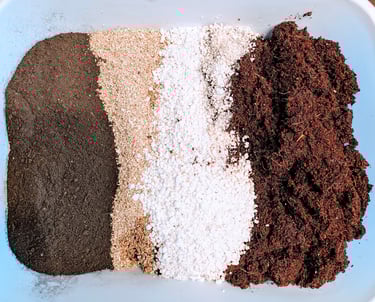
2. Prepare Your Seed-Starting Mix 🌱
This isn’t just any mix—it’s the foundation for success:
Blend 4 parts coco coir or peat moss, 1 part vermiculite, 1 part perlite, and 1 part worm castings. You can add 1 tablespoon of mycorrhizal fungi (optional). In lieu of worm castings you can use fish or seaweed fertilizer (applied 2 weeks after your seeds have sprouted and then every two weeks).
Add water until the mix holds together but doesn’t feel soggy.
Your mix is now ready to create the perfect home for your seeds—this is where the magic begins!

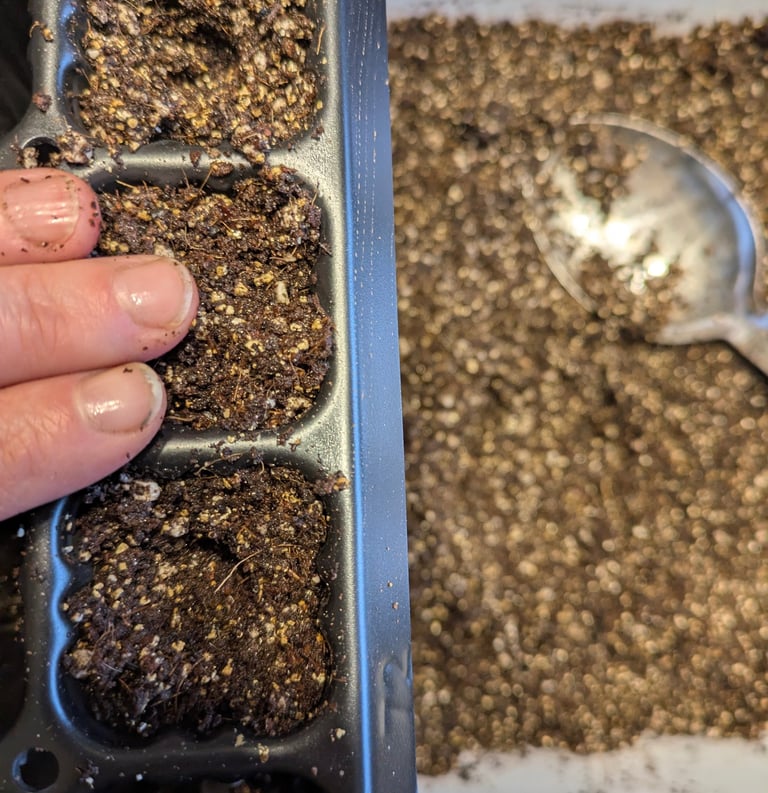
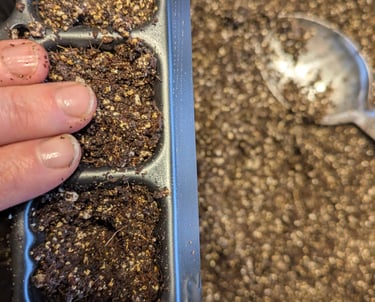
3. Sow Like a Pro 🌟
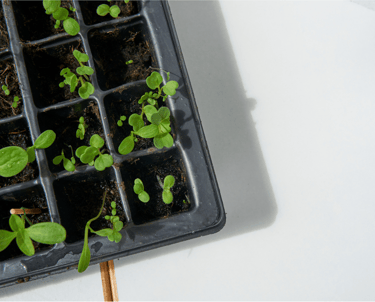
Let’s get your seeds started:
Fill trays or pots with your seed-starting mix, pressing down gently but leaving 1/4 inch of space at the top.
Plant seeds according to packet instructions. Pay attention to germination timing and group seeds that take longer to germinate together.
Mist lightly with water.
Pro Tip: Sprinkle a thin layer of vermiculite on top to prevent mold and fungi.
Label your trays so you can track your plants.
Add a humidity dome to create a greenhouse effect. Remove the dome once most seeds have sprouted.
No light is needed until they the seeds have sprouted.
Your seeds are snug and ready to grow. You’re off to an amazing start!
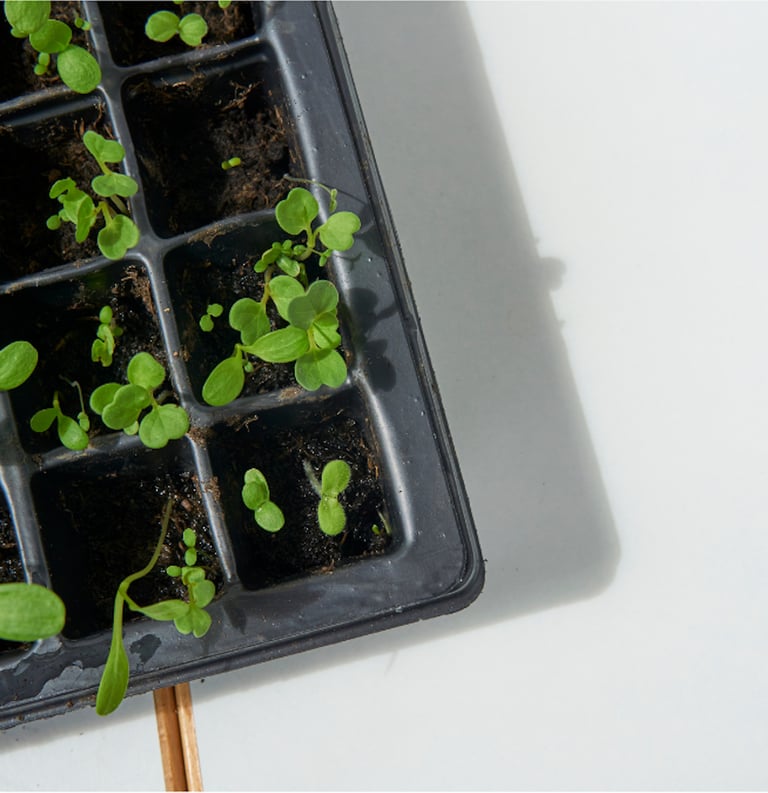
4. Provide the Right Conditions
Germination: a humidity dome keeps soils temperature moist, remove the cover for 10 minutes daily. Remove the dome once all seeds have sprouted.
Light: Once seeds have sprouted place the trays under grow lights 4 inches above the seedlings and set a timer for 14-16 hours daily.
Light Spectrum: Full-Spectrum or LED Grow lights 5000K-6500K
or for regular shop lights, choose 5000K-6500K (Daylight White) for strong plant growth. Brightness & Intensity should be 2000-5000 Lumens
Temperature: Keep things cozy at 75°F, and use a heat mat if needed. At night the temperatures can drop to 65-70°F.
Water: Check soil moisture regularly. When the top 1/4 inch feels dry, water from the bottom and drain off excess water.
Fertilizer: Water your plants with the fish emulsion fertilizer once every two weeks. 2 tsp of fertilizer per gallon of water.
Airflow: Use an oscillating fan for a couple hours every other day to keep seedlings healthy by improving circulation, preventing mold, and strengthening stems.
Each small step you take now is bringing you closer to a flourishing garden.
5. Thin, Split, and Transplant ✂️
I treat my seedlings like my babies—every plant matters! When seedlings grow their first true leaves:
Thin out weaker ones if needed or gently split plants like tomatoes and peppers to maximize your yield.
Pot up seedlings when roots start growing out of the tray holes. Use the next size up for pots to give roots space.
Watching your seedlings grow stronger each day is one of the most rewarding parts of gardening. You’re nurturing the foundation of something amazing! 🌟
6. Harden Off for the Outdoors
Before planting outside, introduce seedlings to outdoor life gradually. Start with 1-2 hours in the shade, increasing sunlight exposure daily over a one week period. This helps prevent transplant shock and builds strong plants.
You’re almost there! By giving your seedlings this gentle introduction, they’ll be ready to thrive in their new home.
Avoid These Common Pitfalls
Overwatering: Can cause damping-off disease. Water from the bottom and pour out excess water that is not absorbed after 20 minutes.
Too Little Light: Leads to leggy, weak seedlings. Use a grow light with 1️⃣ Skipping Labels: Avoid the guessing game later.
Starting Too Early: Prevent plants from outgrowing their space. You will need to pot them up more frequently.
Let’s Grow Together 💚
Seed starting isn’t just a step in gardening—it’s the beginning of something beautiful. With the right tools, mix, and care, you’ll watch your seeds transform into a thriving garden. Whether you’re growing vegetables, flowers, or both, you’re already on your way to success.
Have questions or want to share your progress? I’d love to hear from you! Comment below, or tag me on Instagram at @julieanngardens. Don’t forget to follow for more gardening tips, tricks, and inspiration. 🌱
Sign up for my newsletter to get exclusive gardening content delivered right to your inbox. Let’s make your garden dreams a reality, one seed at a time! 🌷